How to take better dog photos with your phone
Start at your dog’s eye level, choose soft light and simplify the background. Tap the eye area to focus, leave a little space around the ears and take a few frames while your dog is comfortable. You do not need a new camera to practise those choices. A short session with one change at a time makes it easier to see what improves your next photo.
Commercial disclosure: This page has no affiliate links or paid placements. Example photographs are stock images, not PostPuppies contest entries or a camera test.
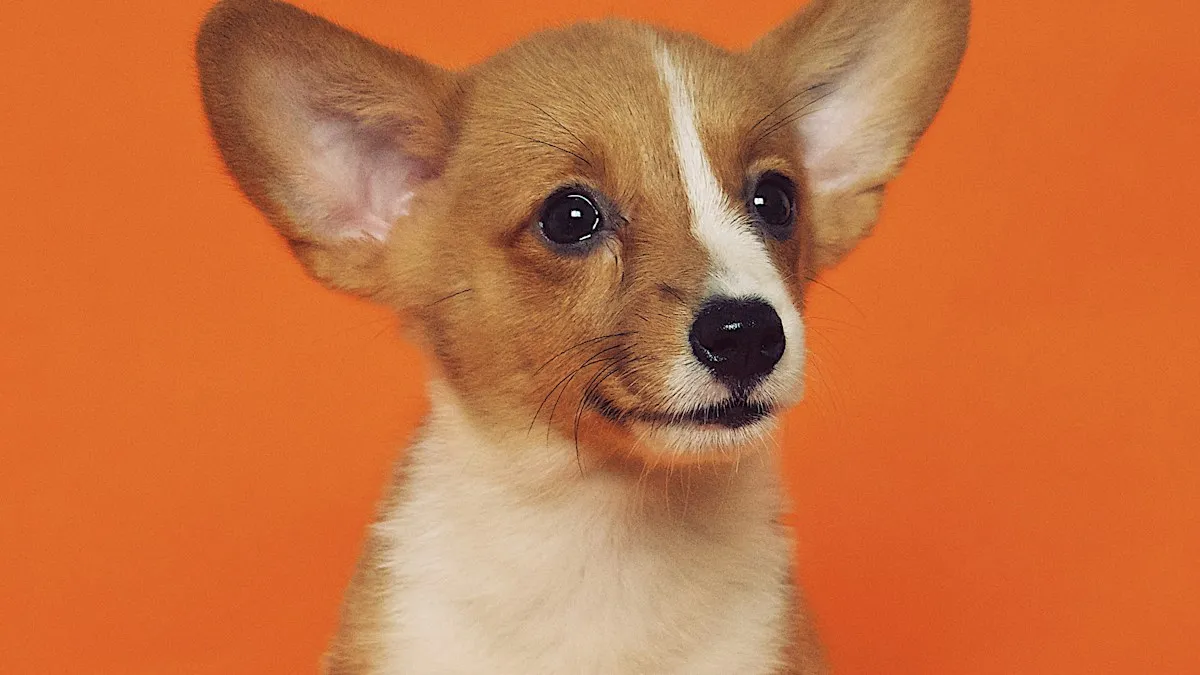
Get the lens closer to the dog’s view
Canon’s pet-photography guidance suggests photographing at eye level and trying several perspectives. Lower yourself or the phone to change the view rather than moving the dog into an uncomfortable position. A small puppy may need the lens much nearer the ground than a taller adult dog.
Try two pictures from the same safe spot: one from where you naturally stand, then another with the lens lower. Compare the face, proportions and background. Neither angle is always right; the exercise helps you make a deliberate choice.
Further reading: Canon: Pet photography tips with Jenn Cooper.
A five-check portrait setup
Use this checklist before asking for a look toward the camera. Most of the work can happen while your dog does something else.
| Check | What to try |
|---|---|
| Light | Choose a softly lit place rather than a distracting lighting setup |
| Background | Move yourself until clutter is out of the frame |
| Lens | Check for smudges before the session |
| Focus | Tap the eye area and inspect the result |
| Framing | Leave enough room around ears and paws for a later crop |
Further reading: Petco: Taking photos of your pet.
Check the eye detail instead of the thumbnail
Take a moment to enlarge one frame and check where focus actually landed. A phone may focus on a nose, object or background when you intended the eyes. If the dog moves, check again rather than assuming the previous focus point still applies.
Some cameras support animal-eye autofocus. Nikon’s explanation shows why a dedicated eye-detection feature can be useful, but the feature and its settings depend on the camera. A phone’s portrait mode is also model-dependent; inspect edges around fur instead of assuming the effect is clean.
Further reading: Nikon: Understanding Animal Detection AF.
Make a small practice set
Keep three frames: your first attempt, a lower-angle attempt and one with a cleaner background. Write down which change helped. Those are your own examples to compare next time; the stock photo on this page is an illustration, not evidence of our camera settings.
For a young puppy, let a comfortable moment be enough. For a larger dog, allow more working distance so you can frame the face without crowding them. If they leave or lose interest, end the session and try another time.
Common questions
Can I get a good puppy portrait without portrait mode?
Yes. Camera position, light, background and focus are useful things to practise with the standard photo mode. Portrait mode is optional and its results need checking.
Should I turn my phone upside down to photograph a small dog?
You can experiment with orientation if it helps place the lens lower, but there is no universal height improvement. Check where your phone’s lens actually sits and hold it safely.
Which eye should I focus on?
For a turned face, try focusing on the nearer eye and inspect the result at a larger size. Movement and your camera’s focusing system can change what ends up sharp.
A little more help.
New puppy checklist for the first week
A day-by-day first-week puppy checklist covering supplies, records, feeding instructions, household care and settling in, with a free printable planner.
Read guidePhotographyHow to get your dog’s attention for a photo
Plan a calm dog-photo session with a familiar toy or agreed reward, a simple framing setup and a short shot list that does not depend on forced poses.
Read guidePhotographyHow to photograph dogs running with your phone
A phone action-photo checklist covering a safe setting, burst controls, framing space and how to choose a sharp frame without promising one universal setting.
Read guide